Description
This article explains how to add your branding to the new HTML5 MPmail Portal as well as using a custom domain.
Requirements
Access to mpmail.com.au (Control Panel), a fully qualified domain name (FQDN) like securemail.mspcompany.com.au, as well as an SSL certificate for the new FQDN.
- You will need to provide the domain name, typically as a subdomain of another domain, as a CNAME
- The SSL certificate can be provided by the partner, or we can provide a 3 month Letsencrypt certificate(https://letsencrypt.org/how-it-works/)
If you don't have access to the Control Panel, please email support@manageprotect.com so we can create administrator accounts for you.
The Process
Customising the Control Panel
The MPMail module called 'Customization' allows you to customise the Control Panel and the emails sent by the Control Panel for your customers.
In this module you can customise the Control Panel on two levels. On the one hand, you can enter your own contact data in the emails which are sent by the Control Panel. On the other hand, you can customise the appearance of both the website of the Control Panel and the progressive web app, and define a new URL and a new name for them.
The customisation is displayed to all users who log in via the domain you specified as per the following screenshot. Both the control panel's appearance and email template can be customised.
IMPORTANT:
- If you have not saved any settings for your domain in one of the tabs of the Customisation module, the settings of the next parent partner who has made settings there will be applied to your domain. If no settings have been saved at the level of your partner or its parent partner, no customisation will be applied and Manage Protects contact details will appear as defaults
- Enter your support information (see Adding Support Information to the Control Panel) even if you do not use other customisation options. The support information is displayed to your users in the Control Panel.
Add information for emails sent by the Control Panel.
- Log in to the Control Panel with your administrative credentials.
- From the scope selection, select the partner or customer for which you would like to make the customisation.
- Navigate to Customization > Email information.
- Enter the name of the contact in the field Contact.
- Enter the sender address for emails sent by the Control Panel in the field Sender address for email templates.(This address will send all rejection notifications and bouncebacks if for some reason, the Quarantine Report is not deliverable. Don't use an email address connected to your ticketing or support software, it will be flooded with NDRs)
- Enter your disclaimer in the fields under Disclaimer.Note: All data below is just an example. Inform yourself in your company about which information is required for outgoing emails sent by the Control Panel.
Figure: Example entries 
- Click on Save to apply the settings.
Customising the Control Panel
Customise the appearance of the Control Panel website and of the progressive web app, and define an URL and a name for them.
SSL Certificates
In order to add your own domain for the control panel, you will need to provide support@manageprotect.com with a SSL certificate in the form of a *.pem or *.key file. This file needs to be set to the fully qualified domain name (FQDN) you require to be your company's MPmail login page. We are unable to provide unsecured domain names for control panel access. NOTE: the webserver is unable to serve unsecured pages. Once you send the key file to support@manageprotect.com we will have it uploaded to the control panel and will advise when it has been applied via the support ticket.
Alternatively, we can provide a letsencrypt free certificate as stated in the "Requirements" section of this document.
- You can customise the URL and the appearance of the Control Panel by entering an URL of your domain and by incorporating your corporate colours, your logo and your favicon.
- Choose a URL of your domain for the Control Panel and configure a redirection to cp.hornetsecurity.com in a CNAME record in the DNS zone of your domain.
- In the next example, a CNAME record is set for the domain securemail.mspcompany.com.au
- securemail.mspcompany.com.au IN CNAME cp.hornetsecurity.com:
- Customise the appearance and the URL of the Control Panel website.
- Customise the app name and the app icon of the progressive web app to match the design of your company.
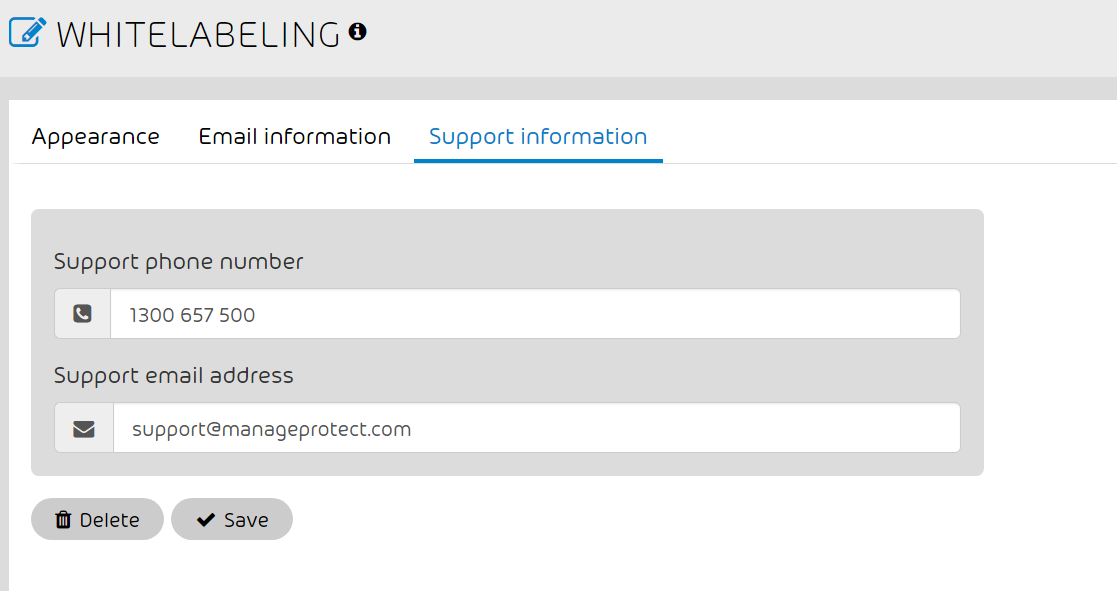
- Add the support information (phone number and email address) to be displayed to the users in the Control Panel CAUTION: Make sure that you have entered all data and the URL for your customised Control Panel in the module Customization.


Once you complete the above steps, please email provisioning@manageprotect.com with your SSL certificate or request for a Letsencrypt certificate. There is a 3-4 day lead time on custom domains and SSL Certificates.
